ORIGINAL POST FOR THIS TUTORIAL HERE
PRINTABLE VERSION LINK HERE
orangutan tutorial
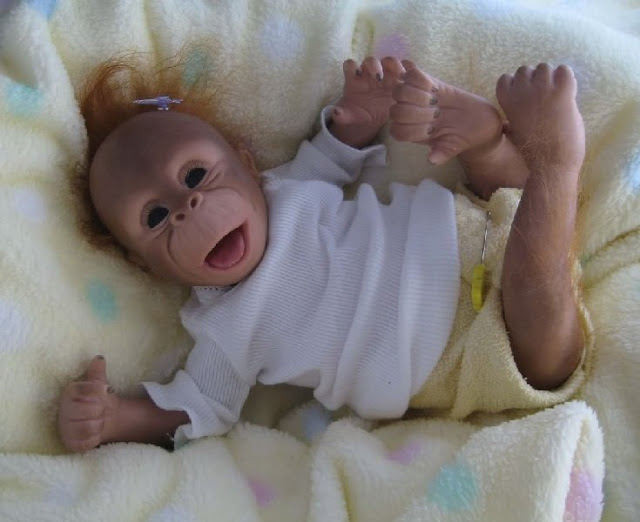
Binki Orangutan Tutorial
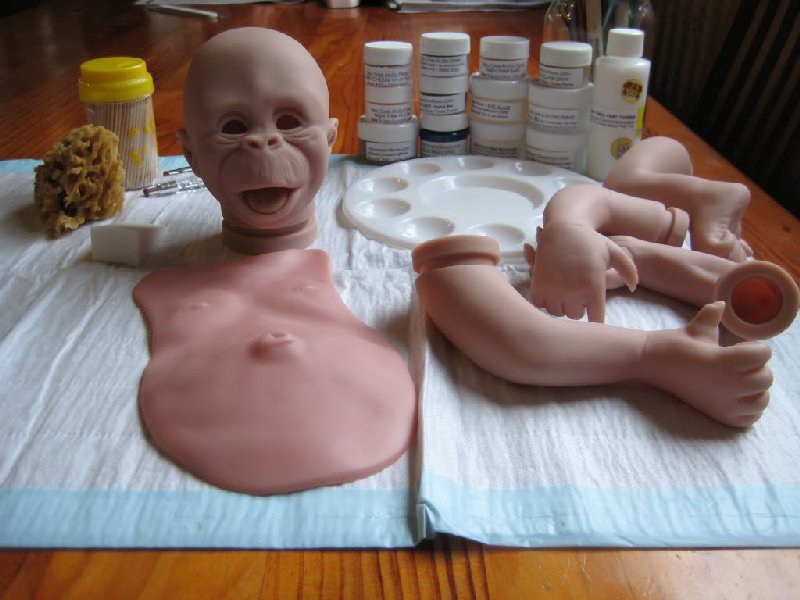
Need:
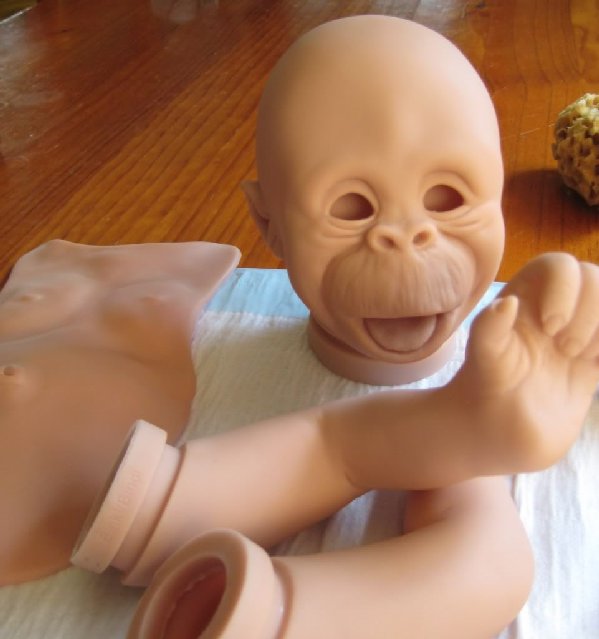
*Kit: Binki and tummy plate from bloomers*n*bows
*Assorted brushes: including but not limited to a fan brush and 5/0 liner brush
*Assorted sponges: including cosmetic wedges, large/medium textured sea sponge, s,m,l berry markers or paint & toss pouncers cut to various sizes
*bloomers*n*bows baby tones air dry paints in:
Pink Neutralizer
Baby tone base
Baby tone hi-lite
Indian cinnamon sienna
Soft black
Soft burnt umber
Rosy cheeks
Blue belly veil
Asian yellow ochre
Clear matte
Gel blending medium
Matte mix in concentrated paint base
Triple thick eye glaze
Paint thinner
*Tooth picks
*Paint Pallet
* 2 bowls clean water
*Old tea towels or paper towel (something to protect your work area)
*Gloves (minimum of 1 to wear on the hand you handle the kit with)
Old damp face cloth or small towel

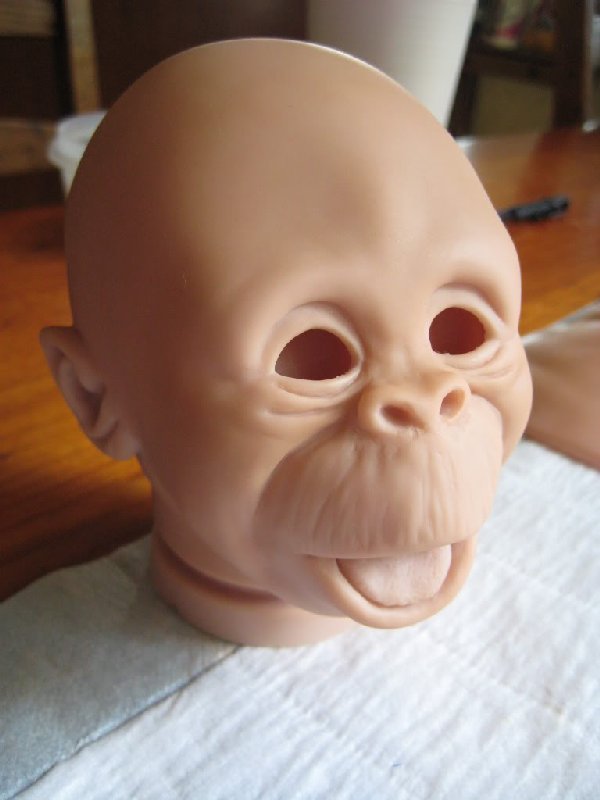
Step 1:
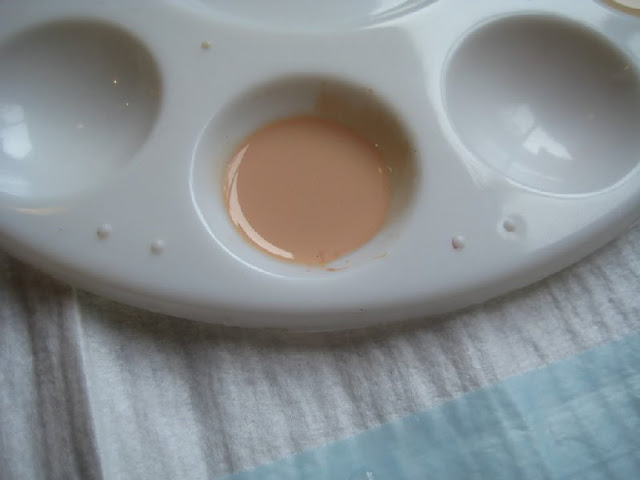
Pink neutralizer (around the size of a pea) plus approximately 15 drops of thinner. Mix together well. Paint onto a cosmetics wedge, dab off any excess paint on the damp face cloth. Pounce the cosmetic wedge over the tummy plate, leave the paint to dry then compare to the colour of the kit. Repeat the wash until you are happy with the colour. The amount of layers needed will depend on how thin you have made your colour wash. It is better to have your colour wash on the thinner side as this keeps the colour translucent where as if your wash was thick to start with you may end up with a solid green looking tummy plate.
I used roughly 5 layers which neutralized most of the pink out of the tummy plate however did not make a perfect match with the kit.
*Note: It is not vital to have an exact colour match for the orang-utan as darker colours will be used later on and there will not be as much transparency as there is in a reborn baby.

Step 2:
Mix approximately 3 parts baby tones base with 1 part Indian cinnamon sienna plus 15 drops thinner. Paint onto a cosmetic wedge, dab off the excess and pounce all over the kit and tummy plate. Use a paint brush to paint the areas your sponge has trouble reaching eg, behind the ears and around the eyes etc. Clean creases/ wrinkles using a fan brush and or a tooth pick to avoid paint build up.


Step 3:
Place the tip of your brush in the blue belly veil so you only acquire a small amount of paint, mix with approximately 10 drops of thinner to make a very thin wash. Dip your brush into the real results blending gel and mix into the colour wash. Carefully paint the thin wash inside the mouth and over the tongue. Clean out any excess paint from creases and texturing on the tongue. There should be just a slight colour change


Step 4:
Repeat step 2 but do not paint the tummy plate. This will help match the colours
Step 5:
Before starting this layer have a look at some photos of baby orang-utans looking at their markings.
Mix Indian cinnamon sienna and a touch of soft burnt umber add 15 drops of thinner. Mix well and paint on to a cosmetics wedge, dab off any excess on the damp face cloth. Pounce onto the head avoiding the area around the eyes and mouth, and the ears blend the colour at the edges of these areas.
Pounce randomly on legs and tummy plate; this is where having looked at the photos comes in handy! Avoid painting the palms and soles.
Repeat this layer again


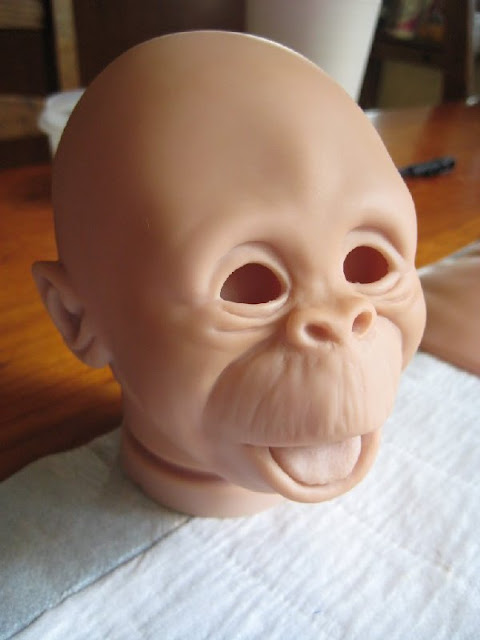
 (this pic was take with flash on to show contrast between area around mouth and eyes to the rest of the head),
Step 6:
Mix soft burnt umber with a touch of Indian cinnamon sienna and 15-20 drops of thinner. Paint onto a cosmetic wedge and dab off the excess. Pounce over the head as in step 5 avoiding ears, eye and mouth area blending around these areas. Pounce on the limbs and tummy remembering to leave some lighter areas and leaving the palms and soles.
Repeat this step.
Remember to clean out creases with fan brush and or tooth pick after each layer.


Step 7:
As Step 6 using on soft burnt umber and 25 drops of thinner. Clean creases. Repeat once.


Step 8:
Using soft burnt umber add a touch of soft black, mix with 25 drops of thinner. Paint onto a textured kitchen sponge dab off the excess and roll onto the kit, again avoiding the eye /mouth & ear area etc.
Clean creases and repeat this layer overlapping the first layer.


Step 9:
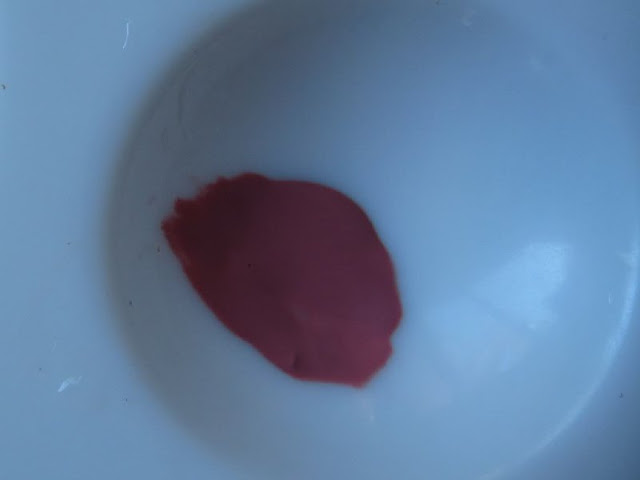
Add 15 drops of thinner to rosy cheeks blush, dip brush into the real results blending gel and add the mix. Mix well wipe excess paint from your brush and paint into the mouth blending to the outside of the mouth. Let dry and repeat 3 to 4 times.


Step 10:
Add a small amount of nail bed and lip tint to the left over rosy cheeks mix. Paint mouth avoiding the lip areas where possible. Repeat until you are happy with the colour.


Step 11:
Mix soft black (about the size of half a pea) and 8 to 10 drops of thinner. Paint nails remembering to clean crease. Let dry and repeat 2 to 4 times depending on how dark you would like the nails.


Step 12:
Mix equal parts Indian cinnamon sienna and soft burnt umber with 20 drops of thinner paint in creases and blend well.


 Step 13 is optional it will add 3d textured skin to your orang-utan
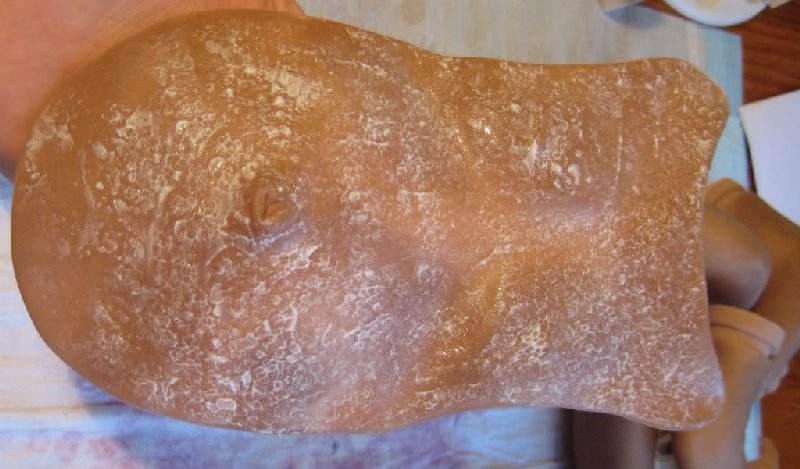
Step 13:
After inserting the eyes. Paint a medium thickness layer of matte mix in concentrate paint base on to the head (I have chosen only to do the top and front however you may choose to the whole head or a smaller area), Roll a medium to large textured sea sponge over the matte mix in concentrate on the top of the head, I used a kitchen sponge on the nose check and chin areas.
Repeat on the tummy also using kitchen sponge and on the out side of limbs, dab the excess matte mix in concentrate onto the inner arms to give just a touch of texture.
Leave to dry 24- 48 hours before starting any rooting. Time needed for drying will depend on how thick you have used the matte mix in concentrate.
*** please note in my “after photos” the medium appears more opaque than it actually is, however if you are worried about it drying opaque use a thinner layer or if you would like it to stand out and be more obvious you could add paint to the concentrate before you paint it onto you kit***


 You are now ready to start rooting! I recommend again looking at photos of baby orang-utans and studying their hair growth patterns and hair growth direction.
Step 14:
Seal the mohair on the inside of your orang-utan. I used a bent pipe cleaner to get into the limbs. Seal the back of the tummy plate and place a piece of felt over the back. Leave to dry and then trim off any excess felt. If you would like the belly plate to be held securely in place you can now punch holes in the plate and attach ribbon which will be tied around the back of your orang-utan. Or if you only want the belly plate for posing when the orang-utan will be lying down you can simply just tuck it into the diaper without any need of ribbons to hold it in place.


Step 15:
If you would like to apply eye lashes to your orang-utan do so now by applying a thin line of craft or tacky clear drying glue along the strip and apply the eyelash, let dry for 5 mins the apply a drop of triple thick eye glaze to the eye and roll the eye, this will spread the eye glaze smoothly over the eye without any streaky brush marks being left behind. You can do both eyes at the same time or one at a time leaving 5-10mins of drying time between.


Step 16:
Its now time to weight and assemble your baby orang-utan


PRINTABLE VERSION LINK HERE
orangutan tutorial
Binki Orangutan Tutorial
Need:
*Kit: Binki and tummy plate from bloomers*n*bows
*Assorted brushes: including but not limited to a fan brush and 5/0 liner brush
*Assorted sponges: including cosmetic wedges, large/medium textured sea sponge, s,m,l berry markers or paint & toss pouncers cut to various sizes
*bloomers*n*bows baby tones air dry paints in:
Pink Neutralizer
Baby tone base
Baby tone hi-lite
Indian cinnamon sienna
Soft black
Soft burnt umber
Rosy cheeks
Blue belly veil
Asian yellow ochre
Clear matte
Gel blending medium
Matte mix in concentrated paint base
Triple thick eye glaze
Paint thinner
*Tooth picks
*Paint Pallet
* 2 bowls clean water
*Old tea towels or paper towel (something to protect your work area)
*Gloves (minimum of 1 to wear on the hand you handle the kit with)
Old damp face cloth or small towel
Step 1:
Pink neutralizer (around the size of a pea) plus approximately 15 drops of thinner. Mix together well. Paint onto a cosmetics wedge, dab off any excess paint on the damp face cloth. Pounce the cosmetic wedge over the tummy plate, leave the paint to dry then compare to the colour of the kit. Repeat the wash until you are happy with the colour. The amount of layers needed will depend on how thin you have made your colour wash. It is better to have your colour wash on the thinner side as this keeps the colour translucent where as if your wash was thick to start with you may end up with a solid green looking tummy plate.
I used roughly 5 layers which neutralized most of the pink out of the tummy plate however did not make a perfect match with the kit.
*Note: It is not vital to have an exact colour match for the orang-utan as darker colours will be used later on and there will not be as much transparency as there is in a reborn baby.

Step 2:
Mix approximately 3 parts baby tones base with 1 part Indian cinnamon sienna plus 15 drops thinner. Paint onto a cosmetic wedge, dab off the excess and pounce all over the kit and tummy plate. Use a paint brush to paint the areas your sponge has trouble reaching eg, behind the ears and around the eyes etc. Clean creases/ wrinkles using a fan brush and or a tooth pick to avoid paint build up.


Step 3:
Place the tip of your brush in the blue belly veil so you only acquire a small amount of paint, mix with approximately 10 drops of thinner to make a very thin wash. Dip your brush into the real results blending gel and mix into the colour wash. Carefully paint the thin wash inside the mouth and over the tongue. Clean out any excess paint from creases and texturing on the tongue. There should be just a slight colour change


Step 4:
Repeat step 2 but do not paint the tummy plate. This will help match the colours

Step 5:
Before starting this layer have a look at some photos of baby orang-utans looking at their markings.
Mix Indian cinnamon sienna and a touch of soft burnt umber add 15 drops of thinner. Mix well and paint on to a cosmetics wedge, dab off any excess on the damp face cloth. Pounce onto the head avoiding the area around the eyes and mouth, and the ears blend the colour at the edges of these areas.
Pounce randomly on legs and tummy plate; this is where having looked at the photos comes in handy! Avoid painting the palms and soles.
Repeat this layer again


Step 6:
Mix soft burnt umber with a touch of Indian cinnamon sienna and 15-20 drops of thinner. Paint onto a cosmetic wedge and dab off the excess. Pounce over the head as in step 5 avoiding ears, eye and mouth area blending around these areas. Pounce on the limbs and tummy remembering to leave some lighter areas and leaving the palms and soles.
Repeat this step.
Remember to clean out creases with fan brush and or tooth pick after each layer.


Step 7:
As Step 6 using on soft burnt umber and 25 drops of thinner. Clean creases. Repeat once.


Step 8:
Using soft burnt umber add a touch of soft black, mix with 25 drops of thinner. Paint onto a textured kitchen sponge dab off the excess and roll onto the kit, again avoiding the eye /mouth & ear area etc.
Clean creases and repeat this layer overlapping the first layer.


Step 9:
Add 15 drops of thinner to rosy cheeks blush, dip brush into the real results blending gel and add the mix. Mix well wipe excess paint from your brush and paint into the mouth blending to the outside of the mouth. Let dry and repeat 3 to 4 times.


Step 10:
Add a small amount of nail bed and lip tint to the left over rosy cheeks mix. Paint mouth avoiding the lip areas where possible. Repeat until you are happy with the colour.


Step 11:
Mix soft black (about the size of half a pea) and 8 to 10 drops of thinner. Paint nails remembering to clean crease. Let dry and repeat 2 to 4 times depending on how dark you would like the nails.


Step 12:
Mix equal parts Indian cinnamon sienna and soft burnt umber with 20 drops of thinner paint in creases and blend well.


Step 13:
After inserting the eyes. Paint a medium thickness layer of matte mix in concentrate paint base on to the head (I have chosen only to do the top and front however you may choose to the whole head or a smaller area), Roll a medium to large textured sea sponge over the matte mix in concentrate on the top of the head, I used a kitchen sponge on the nose check and chin areas.
Repeat on the tummy also using kitchen sponge and on the out side of limbs, dab the excess matte mix in concentrate onto the inner arms to give just a touch of texture.
Leave to dry 24- 48 hours before starting any rooting. Time needed for drying will depend on how thick you have used the matte mix in concentrate.
*** please note in my “after photos” the medium appears more opaque than it actually is, however if you are worried about it drying opaque use a thinner layer or if you would like it to stand out and be more obvious you could add paint to the concentrate before you paint it onto you kit***


Step 14:
Seal the mohair on the inside of your orang-utan. I used a bent pipe cleaner to get into the limbs. Seal the back of the tummy plate and place a piece of felt over the back. Leave to dry and then trim off any excess felt. If you would like the belly plate to be held securely in place you can now punch holes in the plate and attach ribbon which will be tied around the back of your orang-utan. Or if you only want the belly plate for posing when the orang-utan will be lying down you can simply just tuck it into the diaper without any need of ribbons to hold it in place.


Step 15:
If you would like to apply eye lashes to your orang-utan do so now by applying a thin line of craft or tacky clear drying glue along the strip and apply the eyelash, let dry for 5 mins the apply a drop of triple thick eye glaze to the eye and roll the eye, this will spread the eye glaze smoothly over the eye without any streaky brush marks being left behind. You can do both eyes at the same time or one at a time leaving 5-10mins of drying time between.


Step 16:
Its now time to weight and assemble your baby orang-utan


No comments:
Post a Comment